Eyelash lifting: Perfect eyelashes at home – How to do eyelash lifting yourself
Achieving perfect lashes at home with a lash laminating set is simple and cost-effective. Clean your lashes, apply the lifting serum, and use the lifting tool from the set. Take care of your lashes after lifting by keeping them dry, using a non-greasy makeup remover, and combing them daily. For optimal results, use a lash serum. Remember, practice makes perfect—the more you do it, the better you'll get. Curious about adapting the process to your style? Go ahead, there's more to explore!
Key Takeaways
-
Buy a high-quality eyelash lifting set and prepare a well-lit workspace with a good mirror.
-
Thoroughly clean and prepare your lashes before applying the lifting serum. An eyelash lifting set is a one-time investment that pays off in the long run.
-
Use the lifting tool from the set to achieve optimal curl and lifting results.
-
Follow aftercare instructions, including using a non-oily makeup remover and avoiding steam baths for 24 hours.
-
For long-term care, use a lash serum with vitamins and peptides, and give your lashes time to rest and regenerate.
The Benefits of Eyelash Lifting at Home

You might be wondering why you should consider a DIY eyelash lift.
Well, there are many benefits.
You have the freedom to choose when to do it, it's a cost-effective alternative to salon visits, and you can customize the results to perfectly match your style. With a little practice, you can even achieve better results than in the salon.
No Time Pressure: Eyelash Lifting at Your Leisure at Home
Taking advantage of the convenience of a lash lift at home not only saves you the trip to the salon but also offers the luxury of a stress-free and relaxed experience. You control your time and pace, free from schedules. Plus, you can even take care of other tasks while waiting for the lift results.
Here's a quick comparison to give you a better picture:
| At Home | Salon | |
|---|---|---|
| Schedule | You decide | Predefined |
| Pace | Relaxed | Time-limited |
| Extras | Possible | Unlikely |
In short, an eyelash lift at home allows you to enjoy the process on your own time and on your own terms. It’s a comfortable, convenient, and customizable experience tailored entirely to you.
Cheaper Alternative: DIY Eyelash Lifting vs. Salon Visit
While salons can offer professional results, a DIY eyelash lift at home proves to be a cost-effective alternative and a one-time investment packed with benefits. You save a significant amount of money compared to salon prices, and it’s a one-time investment since the set can be used multiple times. It’s also an ideal option if you have a limited budget or prefer to allocate your resources elsewhere. Plus, no tipping required!
Additionally, you can apply the lift whenever it suits you without having to stick to the salon's opening hours. You have the control, so you can adjust the intensity of the curl to your taste. Plus, it's a great way to learn a new skill and be self-sufficient. With practice, you might even achieve better results than in the salon!
Unique Results: Eyelash Lifting That Suits You Perfectly
Achieving unique, customized results with an eyelash lift at home is certainly possible and offers you a range of benefits to complement your individual style and needs. You will enjoy the flexibility, cost savings, and personalization that come with a DIY eyelash lift.
Here’s a quick comparison:
| Aspect | Salon | DIY |
|---|---|---|
| Cost | High | Low |
| Convenience | Low | High |
| Flexibility | Low | High |
| Personalization | Low | High |
| Control | Low | High |
At home, you have the control to customize the procedure according to your preferences, ensuring the lift perfectly matches your style. The cost savings are also significant. Personalization and control, combined with convenience and cost savings, make eyelash lifting at home a compelling choice. With a bit of practice, you can even achieve better results than in the salon.
What You Need for an Eyelash Lift at Home

Before you can achieve this salon-perfect lash lift at home, there are a few essential products you'll need.
From the essential products for your lash lift to the ideal cleaning routine to prep your lashes, we've got you covered.
Let's get straight to the point and talk about what you need for a successful lash lift at home.
Checklist: Your Must-Haves for Eyelash Lifting at Home
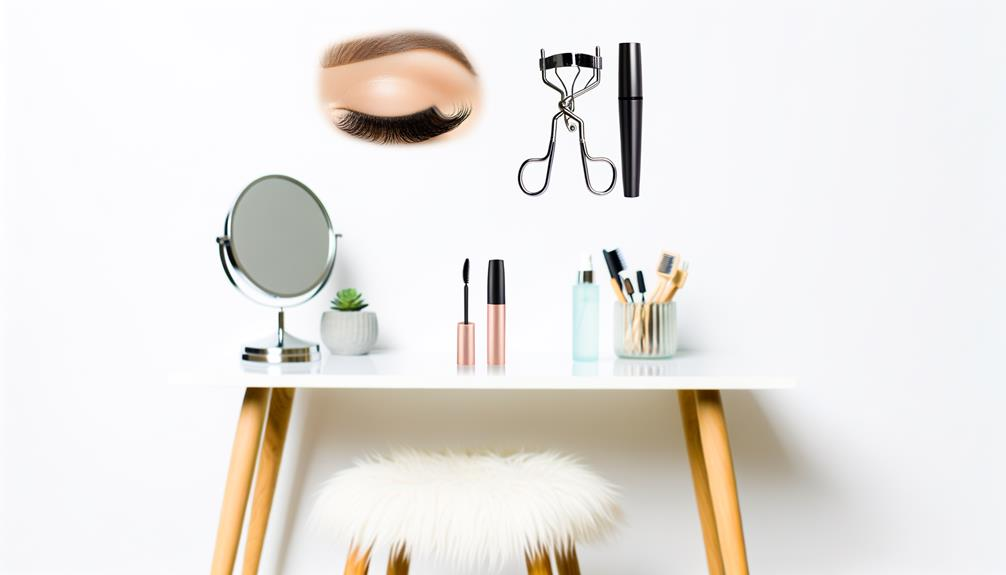
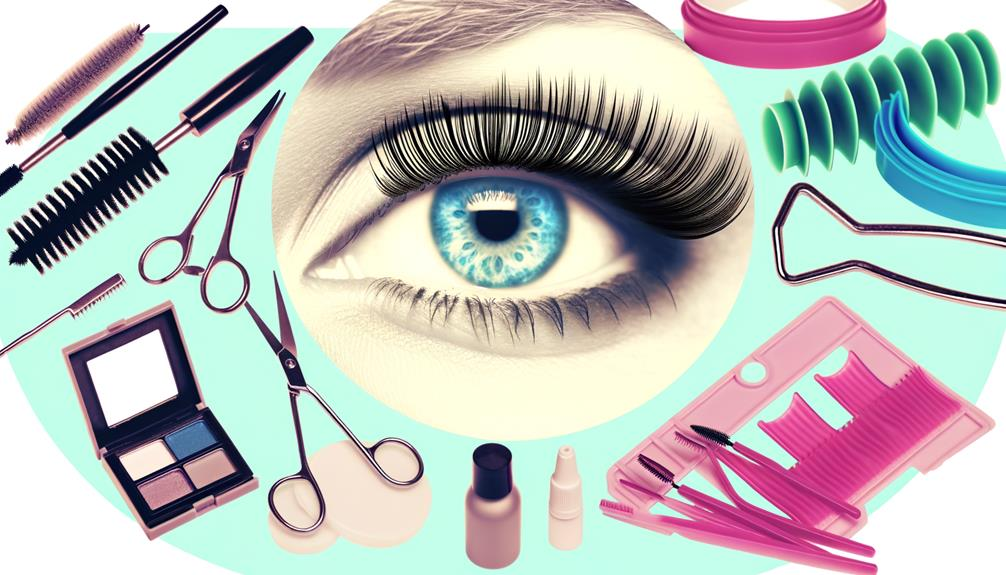
You will need a few essential items and must-have products to successfully perform a lash lamination at home. Your checklist should include a lash lamination set, a clean mascara brush, and a lash comb. Don't forget a quality mirror and a comfortable, well-lit space.
Here's an overview to help you organize your must-haves:
Lash Lifting Checklist
| Item | Why You Need It |
|---|---|
| Lash Laminating Set | Contains the solutions and tools required for the lamination process. |
| Clean Mascara Brush | You will use it to apply the lamination solution. |
| Lash Comb | Helps to separate the lashes for an even application. |
| Quality Mirror | A good mirror ensures precision during the process. |
Cleaning Routine: Preparing Lashes Perfectly for the Lift
To prepare your lashes perfectly at home, it's important to establish a thorough cleaning routine. Start by removing any makeup from your lashes using an oil-free cleanser. This ensures your lashes are clean and ready for the lift.
Then, clean your lashes with a lash-friendly cleanser. Be sure to avoid products with oil, as they can interfere with the lift. After cleaning, dry your lashes thoroughly.
Step-by-Step Guide: How to Perform Eyelash Lifting at Home

Ready to achieve the perfect eyelash lift at home? Let us guide you through this step-by-step process.
From cleaning and preparing your lashes to applying the lifting serum and aftercare instructions, we’ll support you with the right lifting tool.
Step 1: Cleaning and Preparing the Lashes
Before you dive into the process of a lash lift at home, it's crucial to thoroughly clean and prepare your lashes first.
-
Start by removing all makeup residues, especially mascara, as leftover products can interfere with the lift process. You can use an oil-free makeup remover or a cleansing wipe.
-
After thoroughly cleaning your lashes, dry them carefully to ensure they are completely dry.
-
Now it's time to prepare your lashes for the lift. Gently brush them with a lash brush to remove any tangles and align them correctly. This step ensures that each lash receives an even application of the lifting serum in the next phase.
Step 2: Applying the Lifting Serum
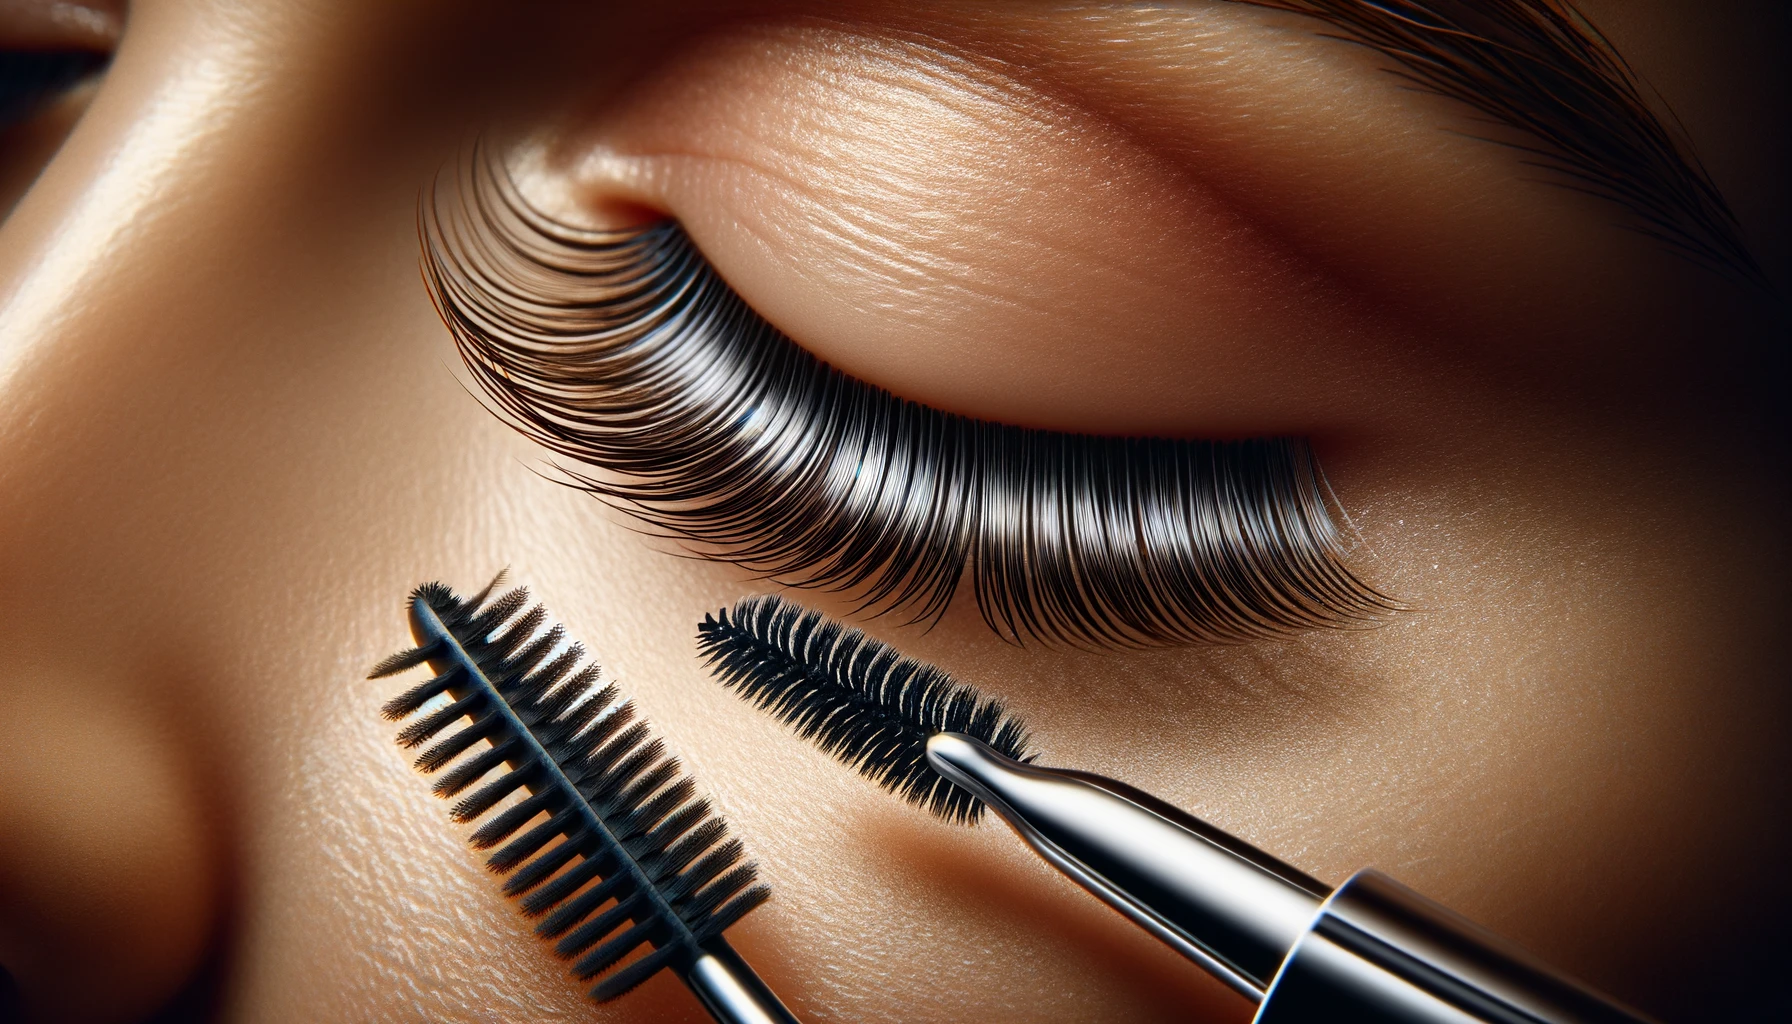
First, you need to apply a thin layer of the serum to your clean, dry lashes. Use a mascara brush for even application. Make sure each lash is coated from root to tip.
Next, use a lifting tool to gently curl your lashes upward. This helps the serum penetrate deeper and achieve a more dramatic lift. Don’t rush this step; take your time to ensure each lash is perfectly curled.
Finally, let the serum sit for the recommended time on the packaging. This usually takes about 10-15 minutes. During this time, do not touch or rub your eyes. After the time is up, gently remove the serum with a clean, damp cotton pad.
Step 3: Aftercare and Maintenance Tips
Now that your lashes have been lifted, it’s essential to know how to take care of them after the treatment. Proper aftercare ensures that your eyelash lift lasts as long as possible.
Here's a simple table to guide you:
Dos and Don'ts
| What You Should Do | What You Shouldn't Do |
|---|---|
| Use a non-oily makeup remover | Do not use waterproof mascara |
| Comb your lashes daily | Do not rub your eyes excessively |
| Sleep on your back | Do not use a sauna or steam bath for 24 hours |
Lashes After Lifting: Care and Tips

Let’s now discuss how to care for your lashes after the lift.
There are some essential tips to follow in the first 24 hours, as well as long-term care practices to keep your lashes healthy and beautiful.
We will also cover the important dos and don’ts for post-lift care.
Right After the Lift: Important Tips for the First 24 Hours
Taking care of your lashes in the first 24 hours after a lash lift at home is crucial for the best results. During this time, your lashes are still malleable and can lose their curl if not handled gently.
Avoid getting them wet at all costs. This means no crying, sweating, or washing your face with water. And forget any eye makeup or lotions for now. Touching or rubbing your eyes is also a no-go.
Sleeping on your back prevents your lashes from getting flattened. Also, be cautious with your sunglasses or glasses, as they can impact the curl.
Following these tips ensures that your eyelash lift will last and look fantastic until the next treatment.
Long-Term Care: Keeping Your Lashes Healthy and Beautiful
Once the first 24 hours have passed, maintaining the health and beauty of your lashes requires a long-term care routine. It’s important to clean your lashes daily with a non-oily cleanser. Also, brush them daily to keep them looking neat and stimulate growth.
You might also consider using a lash serum. These products, rich in vitamins and peptides, can help nourish and strengthen your lashes, making them appear fuller and longer.
However, it’s important to use these products sparingly and follow the instructions to avoid irritation. Remember, your lashes need time to rest and regenerate, so avoid applying heavy makeup too soon or performing another lifting treatment. With proper care, your lashes can remain healthy and beautiful for a long time.
Do's and Don'ts: The Most Important Rules After Eyelash Lifting
Following the essential dos and don'ts after your lash lift can ensure they stay healthy, vibrant, and stunning. It's important to follow certain instructions to maintain the fabulous look of your lashes.
Here are some essential tips for you:
Dos and Don'ts
| Dos | Don'ts |
|---|---|
| Keep your lashes dry for 24 hours | Do not use harsh products on your lashes |
| Sleep on your back to avoid friction | Do not rub your eyes vigorously |
| Use oil-free makeup and remover | Do not use an eyelash curler as it may damage your lashes |
| Brush your lashes daily | Do not expose your lashes to extreme heat |
| Apply a lash serum for nourishment | Do not apply mascara immediately after the lift |
The Perfect Duo: Eyelash Lifting and Lash Serum

To get the most out of your lash serum and lash lifting duo, it’s important to know when and how often the serum should be applied. Generally, you should use the serum once daily. The best time to apply it is at night, just before going to bed. This gives the serum the opportunity to fully absorb overnight and work its magic.
Make sure your lashes are clean and free of makeup. Use the applicator to apply the serum from the base to the tips of your lashes. Take your time—it's important to give the serum time to dry before you close your eyes. A consistent application is key. Skipping applications can disrupt your lashes' growth cycle and affect the serum's effectiveness. Stick to the routine for optimal results.
Synergy Effects: Why Lash Serum After Lifting Is So Effective
After establishing your routine with the lash serum, you'll soon see why the combination with lash lamination is so effective. The serum nourishes and strengthens your lashes, while the lamination gives them the desired upward curl. The combination is a synergy that enhances the effects of both products.
The lash serum stimulates growth, giving you longer and denser lashes. At the same time, the lash lamination opens your eyes and makes your lashes appear even longer. Applying the serum after lamination also allows for more effective penetration into the lashes.
Since your lashes are more accentuated after lamination, the serum can penetrate deeper and nourish them from root to tip. Remember, the health of your lashes is crucial. The healthier they are, the more stunning the results of the lash lamination will be.
Tips and Tricks: How to Get the Best Results with Lash Serum
Perfecting the technique of applying lash serum can significantly boost the effectiveness of the duo—lash lifting and serum application. It's not as tricky as one might think. Always apply the serum after your lash lift, not before. This allows the serum to fully penetrate the lashes and enhance their health and length.
Ensure your lashes are clean and free of makeup. Use the serum's applicator to draw a thin line along the base of your upper lashes, similar to eyeliner application. Do not overuse the product; less is more here. Avoid rubbing your eyes and try to keep your lashes dry for a few hours after application. With regular use, you'll soon see improved results from your lash lifting and serum routine.
Quiz
1. What is the first step in using an eyelash lifting set at home?
- Dye the lashes
- Thoroughly clean the lashes
- Apply the lifting serum directly
2. Which step is crucial for the long-term effect of the eyelash lift?
- Using hot water after the lift
- Keeping the lashes dry after the lift
- Applying mascara immediately after the lift
3. What should be avoided to make the eyelash lift at home successful?
- Using an oily makeup remover
- Using a lifting tool
- Applying a lash serum after the lift
Frequently Asked Questions
What are the risks or side effects of eyelash lifting at home?
They can cause allergic reactions and infections if you're not careful. Excessive use can lead to damaged or lost lashes. Always follow the instructions and use safe products.
How long do the results of an eyelash lift at home last?
The results of your eyelash lift at home can last between 6 to 8 weeks. It really depends on your lash growth cycle. Remember to take good care of them to prolong the lift's effect.
Can I do an eyelash lift at home if I wear contact lenses?
Yes, you can perform an eyelash lamination at home while wearing contact lenses. However, it is recommended to remove them to avoid potential irritation or damage. Always prioritize your eye health during DIY beauty treatments.
Are there alternatives to eyelash lifting at home if I have sensitive eyes?
Yes, there are alternatives to eyelash lifting at home if your eyes are sensitive. You could consider natural remedies like olive oil or castor oil. They are less likely to cause irritation but still promote lash growth.
Can I do an eyelash lift at home while pregnant?
It's best to consult your doctor first. Certain chemicals in eyelash laminating kits may not be safe during pregnancy. Always prioritize your health.
Conclusion
So there you have it! Achieving perfect lashes at home is a breeze with the right tools and a bit of patience.
Remember, aftercare is just as important as the process itself to maintain that beautiful effect. Combine this with a high-quality lash serum, and you have the perfect duo for stunning, captivating eyes.
So go ahead, flaunt those gorgeous lashes!


